Custom assets
This tutorial will walk you through steps to add your assets to Kreate project.
For best results, please consider using
The very first step is to make sure we're working on the correct folder. In this tutorial, we're only
going to use res folder in androidMain. Here's the path:
composeApp/src/androidMain/res
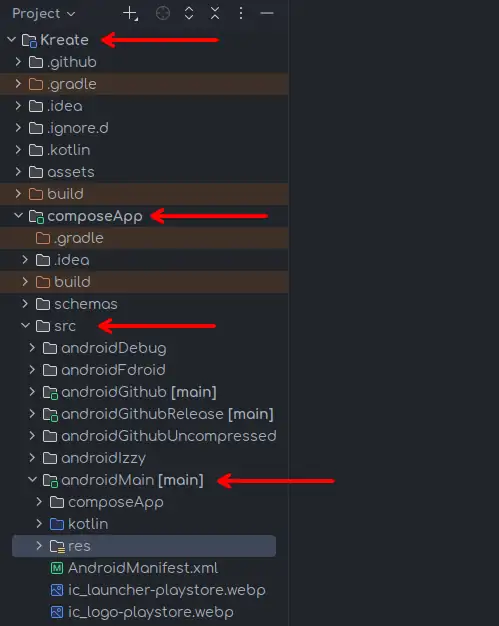
Kreate is categorized as a multiple platform project. Meaning, res in androidMain,
commonMain, desktopMain are valid paths.
Each serves different platform, except for commonMain, which is universal.
But for simplicity, this tutorial will not going to use it.
📍 Get SVG location
There are several ways you can copy a file's path. Some OS has this button right in the menu.
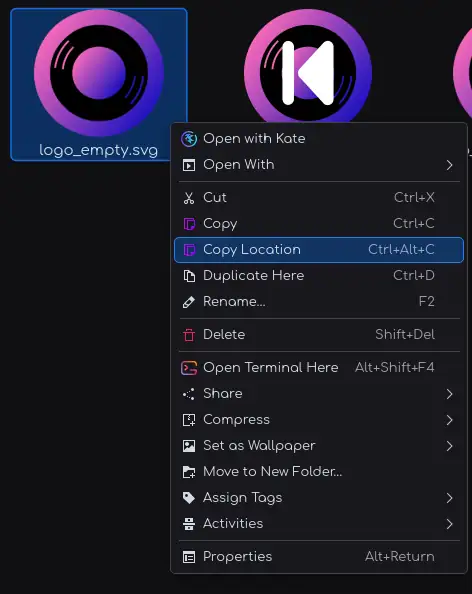
If you don't see this option, you can use the address bar (typically located at the top of your file manager)

To copy from here, you need to select it, then highlight everything to copy.

KDE Plasma is used in this tutorial, but File Explorer and Finder should have similar approach
✎ᝰ Converting SVG to XML
Why? You may ask.
The answer is simple, Android doesn't support SVG, at least, not all of the features SVG provides.
XML file (internally called VectorDrawable) as the name implied, is in fact, a Vector, but with limited functionalities compared to SVG
Luckily, you don't have to convert your SVG to XML prior to the import, Android Studio does this right before importing SVG file/
To import, follow these steps:
- Right-click
res - New
- Vector asset
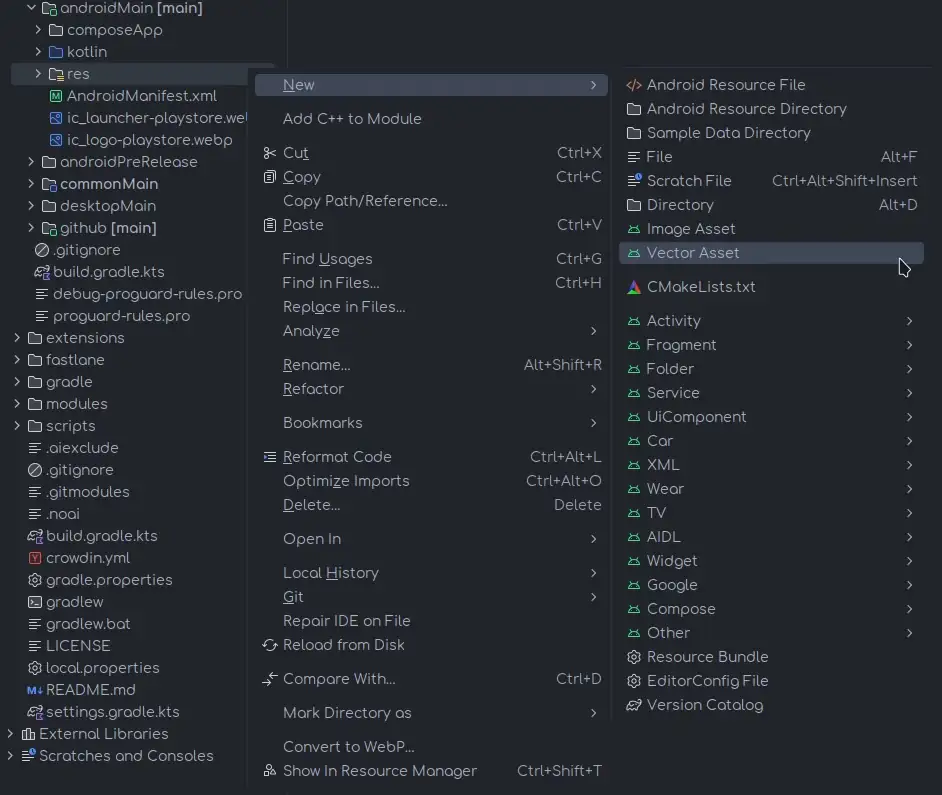
- Configure your vector
After clicking Vector asset, you'll be greeted by this dialog - Configure vector asset
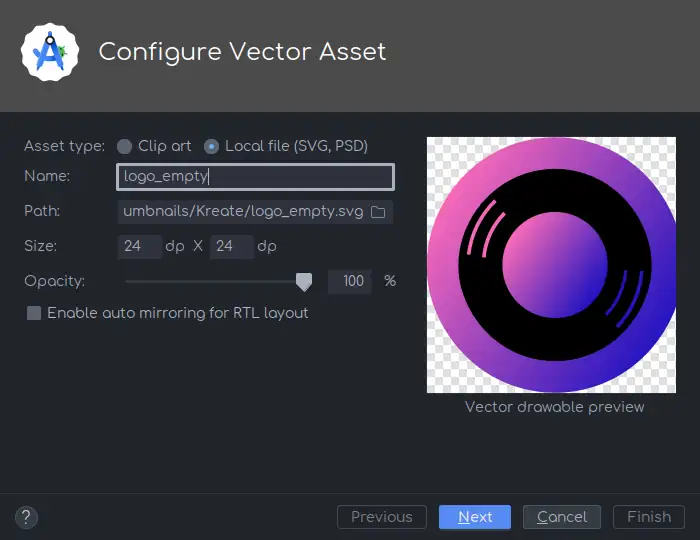
Here, you'll need to add a few things:
- Asset type: what are you importing -
Local filein this case - Name: name of this asset, and name to be used in the development
Name must not contain any spaces, replace them with underscore ( _ )
- Path: path to your SVG file
- Size: the size of this vector after the conversion, should be 24 x 24 in most cases.
- Opacity: see-through level
- Enable auto mirroring for RTL layout: Check if your vector must be mirrored (flipped horizontally) when RTL is applied (usually for texts, or arrows)
Read a more detailed article here
- Next
- Verify everything
This confirmation dialog lets you make sure everything is in its correct place.

- Finish
📋 Confirm asset & commit
At this point, you should be able to see your newly added asset in Resource Manager.
The last step is to commit your changes and push it to your fork, and open a pull request. There's a tutorial for this too, check out Getting Started - Acknowledge changes